


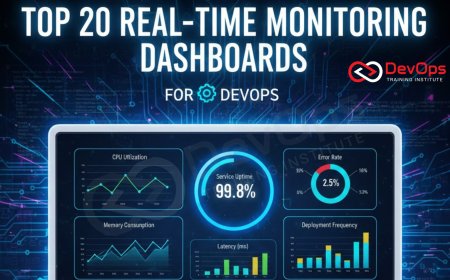
![Kong Interview Preparation Guide [2025]](https://www.devopstraininginstitute.com/blog/uploads/images/202509/image_430x256_68dbb95326997.jpg)

Toolchain Setup Checklist for DevOps Students in Bangalore
The ultimate 2025 checklist every DevOps student in Bangalore must follow to set up a job-ready toolchain on their laptop in under 4 hours. Step-by-step instructions for Git, Docker, Kubernetes, Jenkins, Terraform, Ansible + bonus Bangalore-specific tips and lab recommendations from DevOps Training Institute and WebAsha Technologies.
Introduction
Every weekend in Bangalore, hundreds of DevOps students waste hours on broken installations and “command not found” errors because they follow random tutorials. This guide gives you the exact same toolchain setup used by DevOps Training Institute and WebAsha Technologies for their 2025 batches. Follow it once and you’ll have a fully working DevOps environment ready for practice, projects, and interviews — in under 4 hours.
Minimum Laptop Requirements (Bangalore 2025)
- Processor: i5 8th gen / Ryzen 5 or better
- RAM: 16 GB (8 GB possible but slower)
- Storage: 512 GB SSD
- OS: Windows 10/11, macOS Ventura+, Ubuntu 22.04+
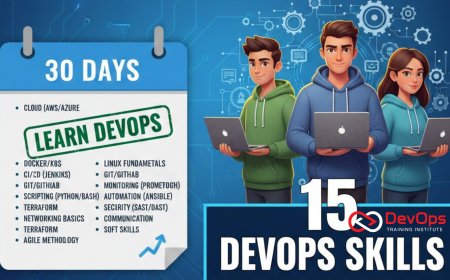
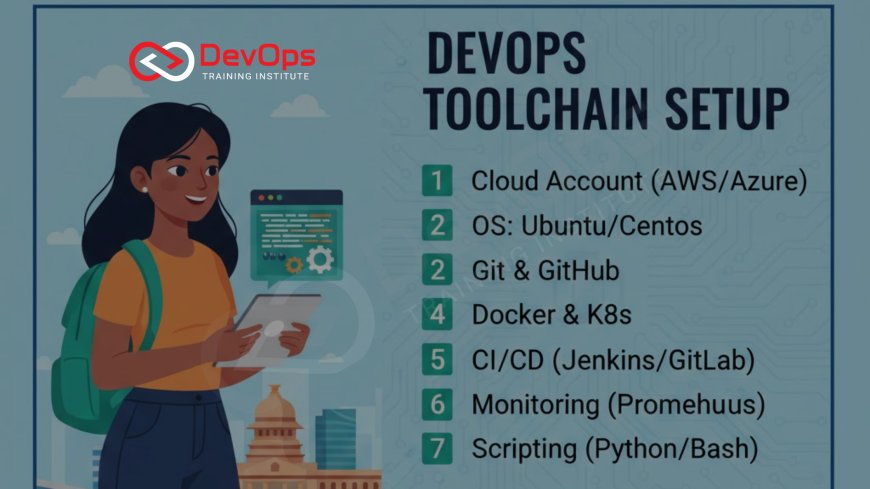
Complete Toolchain Installation Checklist
| Step | Tool | Action / Command | Time |
|---|---|---|---|
| 1 | Git | Download from official site & install | 5 min |
| 2 | VS Code | Download & install extensions (GitLens, Docker, Kubernetes, Terraform) | 10 min |
| 3 | Docker Desktop | Install & enable Kubernetes in Settings | 15 min |
| 4 | Minikube | minikube start --driver=docker | 20 min |
| 5 | kubectl | Install latest stable version | 5 min |
| 6 | Terraform | Download binary & add to PATH | 5 min |
| 7 | Ansible | pip install ansible | 5 min |
| 8 | Jenkins (Local) | docker run -p 8080:8080 jenkins/jenkins:lts | 10 min |
| 9 | Helm | Official Helm install script | 3 min |
Free Cloud Credits for Bangalore Students (2025)
- AWS Educate → $100 credit
- GitHub Student Pack → free Docker Hub + credits
- Google Cloud → $300 credit
- Azure for Students → $100 credit
Windows Users: Use WSL2 (Recommended by Every Bangalore Institute)
- Enable Windows Subsystem for Linux
- Install Ubuntu 22.04 from Microsoft Store
- Run wsl --update
- All tools run perfectly inside WSL2
Quick Verification Commands
git --version
docker --version
kubectl version --client
minikube status
terraform -version
ansible --version
helm version
Bangalore Student Communities & Free Labs
- DevOps Training Institute – Free Saturday lab access
- WebAsha Technologies – Monthly toolchain workshop
- Bangalore DevOps Meetup – Hands-on sessions
Real-World Practice After Setup
Once your toolchain is ready, start building production-like projects:
- Set up an Elastic Load Balancer (ELB) for high availability
- Configure health checks for load balancing
- Implement Auto Scaling Groups
- Automate alerts with Amazon CloudWatch
- Create scaling policies
- Understand EBS vs EFS storage
- Attach/detach EBS volumes
- Use EFS for multi-instance apps
- Encrypt EBS volumes & take snapshots
- Implement EFS backup strategies
Conclusion
Bookmark this page and follow the checklist exactly once. In less than one afternoon you will have the same professional DevOps toolchain that top Bangalore companies expect from junior engineers. After setup, use the links above to build real AWS projects that impress recruiters. Your future interviewer only cares that your commands work on the first try. Set it up today, practice tomorrow, get placed the day after.
Frequently Asked Questions
Do I need 32 GB RAM?
No. 16 GB with resource limits works perfectly.
Will this work on 8 GB RAM?
Yes, but limit Docker Desktop to 4 GB in settings.
Is WSL2 mandatory on Windows?
Strongly recommended — it’s what every Bangalore institute teaches now.
Should I install Jenkins with Docker or Java?
Use the Docker method — no Java version headaches.
Do college networks block these tools?
No. All downloads work without VPN in 2025.
Will interviewers check my laptop?
Yes — many ask you to run kubectl get pods live.
Can I skip Helm?
Not advised — 90% of Bangalore projects use Helm charts.
Which cloud to practice first?
AWS Free Tier — maximum tool support + highest demand.
Ready to start?
Yes! Open your laptop, start with Step 1, and finish the entire setup today.
What's Your Reaction?
 Like
0
Like
0
 Dislike
0
Dislike
0
 Love
0
Love
0
 Funny
0
Funny
0
 Angry
0
Angry
0
 Sad
0
Sad
0
 Wow
0
Wow
0
![100+ Azure DevOps Interview Questions and Answers [Updated 2025]](https://www.devopstraininginstitute.com/blog/uploads/images/202509/image_140x98_68c40aa9a3834.jpg)


![Future Scope of DevOps Careers in Pune [Updated 2025]](https://www.devopstraininginstitute.com/blog/uploads/images/202510/image_140x98_68e3a84652312.jpg)